Kids, Teens, & Families

Art Exploration for Any Age
Our vision is to create a dynamic environment where visitors of all ages can actively engage with art through interactive exhibits and hands-on programs that explore wide-ranging topics. We strive to create memorable experiences that spark curiosity and foster lifelong learning, ensuring that every visitor—from toddlers to seniors—finds value and inspiration in American art.
Kids & Families Events
See all kids & families eventsimages, words, or gestures used to create and imply meaning
art representing a person or figure
the way the elements of art are arranged for the viewer, often this affects the works interpretation and the way the art and its meaning are perceived
the way an artwork is seen, interpreted and understood by viewers
looking at a person or figures face and body as if they were facing you
a simple design used to represent a brand, person or company (example: Nike swoosh, McDonald’s M)
representing you or referencing how an artist shares their emotions, opinions and ideas
television, radio, social media, newspapers and other organizations that share information publically
What are symbols? How do we use symbols and where have you seen symbols used? How and why do artists use symbolism?
How did you see symbols used in the various artwork in the galleries?
How is symbolism used to provide information about an individual in a portrait? How is symbolism used to communicate other ideas within artwork?
What images and symbols look like America to you?
What words would you use to describe the country and your feelings about it?
What does America mean to you?
Drawing paper
Pencils, erasers
Colored pencils
Magazines and newspapers
Glue
Scissors
a community of interacting organisms and their environment
the natural home or environment of an animal or plant
the surroundings or conditions in which a person, animal, or plant lives or operates
a change an organism goes through to better fit their environment
an animal that only eats plants. Rabbits are examples of herbivores.
an animal that eats meat. Sharks are examples of carnivores.
an animal that can eat both plants and meat. Humans are examples of omnivores.
organisms that can breakdown dead and decaying organisms. Mushrooms are examples of decomposers.
an artwork made by combining different objects
art made with everyday objects that have been discovered and gathered rather than traditional art materials which are purchased
Look closely. What do you see?
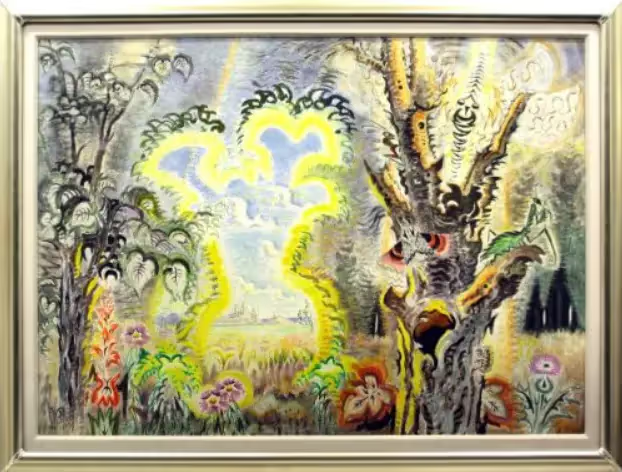
How many hidden creatures can you find in Harvey’s artwork?
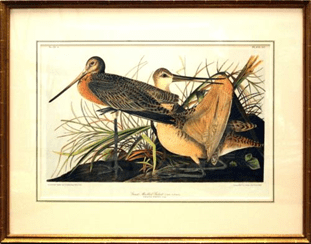
Can you recognize the animals in Audubon’s art?
Where do you think these creatures live? What might their habitat be?
What do you think they eat? Why do you think they eat that?
How are Harvey’s imaginary creatures different from Audubon’s real animals? Do they share any similarities?
Many animals are uniquely adapted to their environments. What adaptations do think these creatures might have to survive in their environment?


Found and recycled objects, like cans, cereal boxes, milk cartons, paper cups, and cardboard
Pencils
Markers
Googly eyes
Glue
Scissors
Construction paper
The term ‘Curator’ means keeper, and in the context of an art museum, it means to keep, or care for, the collection of that institution. The process of curating in a museum is more complex than simply putting pieces together. Curators define the artistic direction of their institution by researching, interpreting, and ultimately, choosing the artwork for a museum.
When a work of art is purchased by the museum or is donated to the museum, it becomes a museum acquisition and it goes through an accessioning process. This is the formal act of legally accepting an object or objects that a museum holds in the public trust, or, in other words, those in the museum’s permanent collection. Because the museum commits staff time, space and other resources to the proper care of these objects, it is important that acquiring objects for the collections be done in a thoughtful, inclusive way that reflects the best interests of the museum and its audiences, and can be sustained by the available resources of the institution.
A permanent collection refers to objects and artworks that a museum owns, either through purchases or donations, that it has committed to taking care of in perpetuity. [We mean, forever!]
All works of art on display have a label posted near them. Every label includes:
- the artist’s name and dates they were alive
- the title of the work of art
- the year the art work was made (which may span several years or may have a ‘c.’ in front of it if we only know an approximate date)
- The media or materials the artist used to make the work of art
- Information about who donated the work of art (or donated funds for the work of art) to the museum
- An accession number, which is simply the year the artwork came into the collection, followed by a number indicating the order in which it arrived (so an accession number of 2021.11 would mean a work of art came into the collection in 2021 and was the 11th work to come into the collection that year)
Sometimes this label also includes information to help you, the viewer, better understand the work of art, prompt deeper thinking about the work or offer additional resources for individual exploration of the artist or art movement.
Pre-cut watercolor paper (5x7)
Pencils
Permanent fine tip markers or pens (various colors if available)
Watercolor paint
Brushes
Painting that is done outside and captures the natural landscapes, built world, and people observed.
Areas of the world that surround the Mediterranean Sea, including Northern Africa, Spain, France, Italy, Greece, Turkey, and Syria (see map below).
An art movement focused on capturing light and everyday moments with fast, visible brush strokes.
As part of their formal education, often before marriage, some wealthy European and American men in the late 17th through early 20th centuries traveled internationally. The most popular destinations were the best-known towns and cities or the Renaissance, along with the remains of ancient Roman and Greek civilizations, many of which are found in the Mediterranean region.
A phrase in art referring to the point where the sky meets the earth or objects connected to the earth, such as buildings, mountains, or other natural/man-made things.
Why did American and other artists travel to Europe, particularly the Mediterranean region, to paint?
How did the works these artists made influence people in the United States and their travel patterns?
What landmarks and subject matter did the artists in the exhibition Mediterranea focus on?
If you were documenting the place where you live, what would you focus on? How might that be the same or different if you were traveling and visiting someplace new?
The imitation or depiction of aspects in the Eastern world, going back as far as the 1400s. These depictions are usually created by writers, designers, and artists from the West and show women in a sexualized and non-representational manner.
A cultural and linguistic term referring to those who speak Arabic as their primary language.
To form a fixed and often untrue or only partially true idea about a group that represents an oversimplified opinion or prejudiced attitude.
An artistic, stylized, or elegant handwriting or lettering. It can also be used to refer to the art of producing such writing.
A paste made from the powdered leaves of a tropical shrub, used as a dye to color the hair and decorate the body. The ingredients for henna and the way it is applied varies by country.
List the ways artist Lalla Essaydi uses traditional artistic elements from her culture – in what ways are they similar to or different from the way those elements are usually made or seen?
Discuss the ways repeating patterns are used in textiles.
Consider how the artist uses calligraphy and writing in her work. Why do you think she intentionally made the writing illedible? How does this add to the intention of her work?
Darker colored, untreated cotton fabric (bandanas, t-shirts, no polyester blends or logos)
Bleach pens (sold near laundry detergents, bathroom cleaning supplies, or online)Bleach pens (sold near laundry detergents, bathroom cleaning supplies, or online)
Cardboard, chip board, or newspaper to place under fabric
Smock/protective clothing
Access to cold running water – individual buckets of water to rinse bleach – must be large enough to soak all of the fabric
the imitation or depiction of aspects in the Eastern world, going as far back as the 1400s. These depictions are usually done by writers, designers, and artists from the West and are often found to be problematic due to the patronizing and eroticized style utilized.
treating people from another group as essentially different from and generally inferior to the group you belong to.
a cultural and linguistic term referring to those who speak Arabic as their first language.
to form a fixed and often untrue or only partly true idea about a group and that represents an oversimplified opinion, prejudiced attitude, or uncritical judgment
artistic, stylized, or elegant handwriting or lettering and the art of producing such writing
a paste made from the powdered leaves of a tropical shrub, used as a dye to color the hair and decorate the body.
The “male gaze” invokes the sexual politics of looking and being seen and suggests a sexualized way of looking that empowers men and objectifies women. In the male gaze, a woman is visually positioned as an “object” of heterosexual male desire. The female gaze is a term representing the looking done by the female viewer.
to overthrow, redirect, or destroy the power of something. Subversive art attempts to undermine the dominant values and traditions of a society or common ideal.
to get back something that was lost or taken away, physically or symbolically through action
Textiles showcase the artistry of this vast and culturally diverse region. From the intricate embroidery on a Palestinian wedding dress to the complex iconography on an Afghan war rug, textiles reflect the beliefs, practices and experiences of people from these lands.
Gauze, a thin transparent material of silk, linen or cotton, is first mentioned in 1279 under the name gazzatum; it was among the fabrics considered too luxurious for monks to wear. The name may come from the town of Gaza, and the cloth may be of the same type as the famous “veils of Cos” with which Caesar bade Cleopatra cover herself when she visited Rome in 43 B.C.
Muslin takes its name from Mosul, in Iraq, where it was originally made. According to Marco Polo, it was “a cloth of silk and gold,” although the name has, for several centuries now, simply designated a fine cotton or silk material.
Links for more information:
https://fashion-history.lovetoknow.com/fabrics-fibers/middle-eastern-textiles
https://study.com/academy/lesson/moroccan-textiles-history.html
What is Orientalism?
What role did Orientalism play in “othering” Arab, North African, Asian women?
How can art challenge or deconstruct stereotypes
Look closely.
What are stereotypes?
What are some of the issues with stereotypes?
How can images reinforce stereotypes?
What stereotypical images of people would you like to change?
How does Essaydi’s work challenge stereotypes of Arab women?
How does Essaydi’s photograph compare to Ingres’ La Grande Odalisque? What did she change? What stayed the same?
Why do you think the artist made these changes?
Why do you think the artist chose to use text?
Who do you think the women in these photographs are?
an art technique in which paper, photographs, and other materials are cut and combined to create a work of art
a 19th century European art movement, known for its depictions of people and places from North Africa, the Middle East, and Asia. Orientalists painters often mixed reality with fantasy, creating images that misrepresented these regions and the dozens of cultures found there as being hypersexual, barbaric, overly feminine, or exotic.
a temporary dye made from the henna plant that is used in Mehndi, an art form where henna is applied in decorative patterns directly to the skin
based on the Turkish word for chambermaid (odalık), odalisque was a term used in Europe to describe a female concubine or slave in a harem. Odalisques were a popular subject matter in Orientalist paintings.
a harem (or seraglio) is the apartments reserved for female members of a household. In the Ottoman Empire, these were the spaces where the wives, unmarried daughters, young sons, unmarried female relatives, mothers, female servants, and concubines of a ruler resided. This was a practice generally reserved for the upper classes, as men and women in poor communities did not typically have separate living quarters.
Efforts to raise awareness and create social, economic, political, or environmental change.
When a person prefers one thing or person over another without giving an equal chance to both.
Cultural characteristics that connect certain groups.
Everyone is treated, measured, esteemed, and valued the same.
Everyone is given what they need to be successful, even if those things are not the same.
The state of being included, valued, and respected for who you are, no matter what abilities you may or may not have.
Upholding what is moral, equitable, and fair for all people.
Judging or having an opinion about someone before you know them.
A right, advantage, or immunity only granted or available to a particular person or group.
is a social construct, a human-invented classification system invented as a way to define physical differences between people and has often been used as a tool for oppression and violence.
PBS KIDS Talk About Race & Racism
A Collection of Resources for Teaching Social Justice
Common Sense Media
Talking to Kids about Racial Violence, by Haig Chahinian
Too great a burden to bear by Sabrina Joy Stevens
What White Children Need to Know about Race by Ali Michael and Eleonora Bartoli
Paper
Air dry clay
Markers
Pencil
Mixed media materials
Paper
Pencils
Collage materials (magazines, photographs, print images, fabric, etc)
Glue or tape
Scissors
Drawing/painting materials (charcoal, oils pastels, water color, other paints)
cutting and gluing different images in an artwork
a description of real or imaginary people and events
the events that happen in a story
the place where a story happens
the people or animals in a story
how a story or artwork makes you feel
art that tells a story
Look closely. What do you notice?
What do you think is happening?
What do you think the person in the painting is doing?
How do you think this person feels?
What animals can you see?
Where do you think this takes place?
Pencil
Paper
Crayons, Markers, or Colored Pencils
A Story/Narrative
Construction or Manilla Paper
Markers
Pencil
Scissors
Glue Sticks
Old Magazines
cutting and gluing different images in an artwork
something that communicates meaning through imagery
writing, written language in printed form
work of art using more than one medium (examples: charcoal drawing on fabric, printmaking and drawing combined in one piece)
8 x 10 inch of cardboard, canvas board, or other thick materials that can hold layers of glue/paper (recommended 80lb weight paper and above)
Pencils
Used book pages (found, printed, or photocopied)
Scissors
Glue Sticks, Craft glue like Mod Podge, PVA, or white school glue
Drawing/painting materials (charcoal, oils pastels, water color, other paints)
Collage materials (magazines, photographs, print images, fabric, etc)
Newspaper or a plastic tablecloth
White paper cut to 4x6 or 5x7 pieces (card stock, watercolor paper, or thicker paper works best)
Pan or baking sheet with raised edges
Shaving cream (foam, not gel)
Food coloring or liquid watercolor paint (or both)
Knife or spatula
Chopstick, knife, or fork
Small piece of cardboard or a ruler for scraping away excess shaving cream
Age: Rising 1st – 6th Graders
Available for siblings enrolling in the same week
- June 3-7
- June 10-14
- June 17-21
- June 24-28
- July 8-12
- July 15-19
- July 22-26
- July 29 – August 2
9am to 4pm each day
Available for students attending Title 1 schools.
- Non-members: $300 per week
- Museum members (Passport level and above): $240 per week
Assist camp instructors as needed
Help prep and facilitate daily art activities
Lead campers through the art galleries and sculpture garden
Help campers explore a wide variety of art mediums and tools
Maintain a safe environment by keeping classroom clean and organized
Assist and lead outdoor activities
Must be 13-17 at the time of application
Comfortable working with children
Available to volunteer during one full week of camp. Teens have the option of exclusively working the morning or afternoon sessions of camp.
Must be 13-17 at the time of application
Comfortable working with children
Available to volunteer during one full week of camp. Teens have the option of exclusively working the morning or afternoon sessions of camp.

2025 Spring Break Camp
Young artists ages 6-12 are invited to spend Spring Break at the Hunter! Campers will explore the Hunter’s collection while creating a wide variety of artworks including sculpture, textiles, prints and more. With five unique days of art making and fun, campers will expand their creative horizons with inspiration from our current special exhibition.
Camp runs Monday through Friday with full week and individual day options. All art materials and snacks will be provided, and caregivers are asked to pack a NUT-FREE lunch and a water bottle for their child every day. A full list of what to bring will be sent by email 2 weeks prior to your scheduled week of camp. Register now at the link below.
Discounts are available for siblings enrolling in the same week. Thanks to generous funding from Unum and the Lillian L. Colby Foundation, we are able to offer need-based scholarships for students who attend Title 1 schools and families receiving SNAP benefits. Please email cbespalec@huntermuseum.org with any camp questions, including scholarships and waitlists.
Looking for Summer Break Art Camps? Click here!
.avif)
2025 Summer Camp
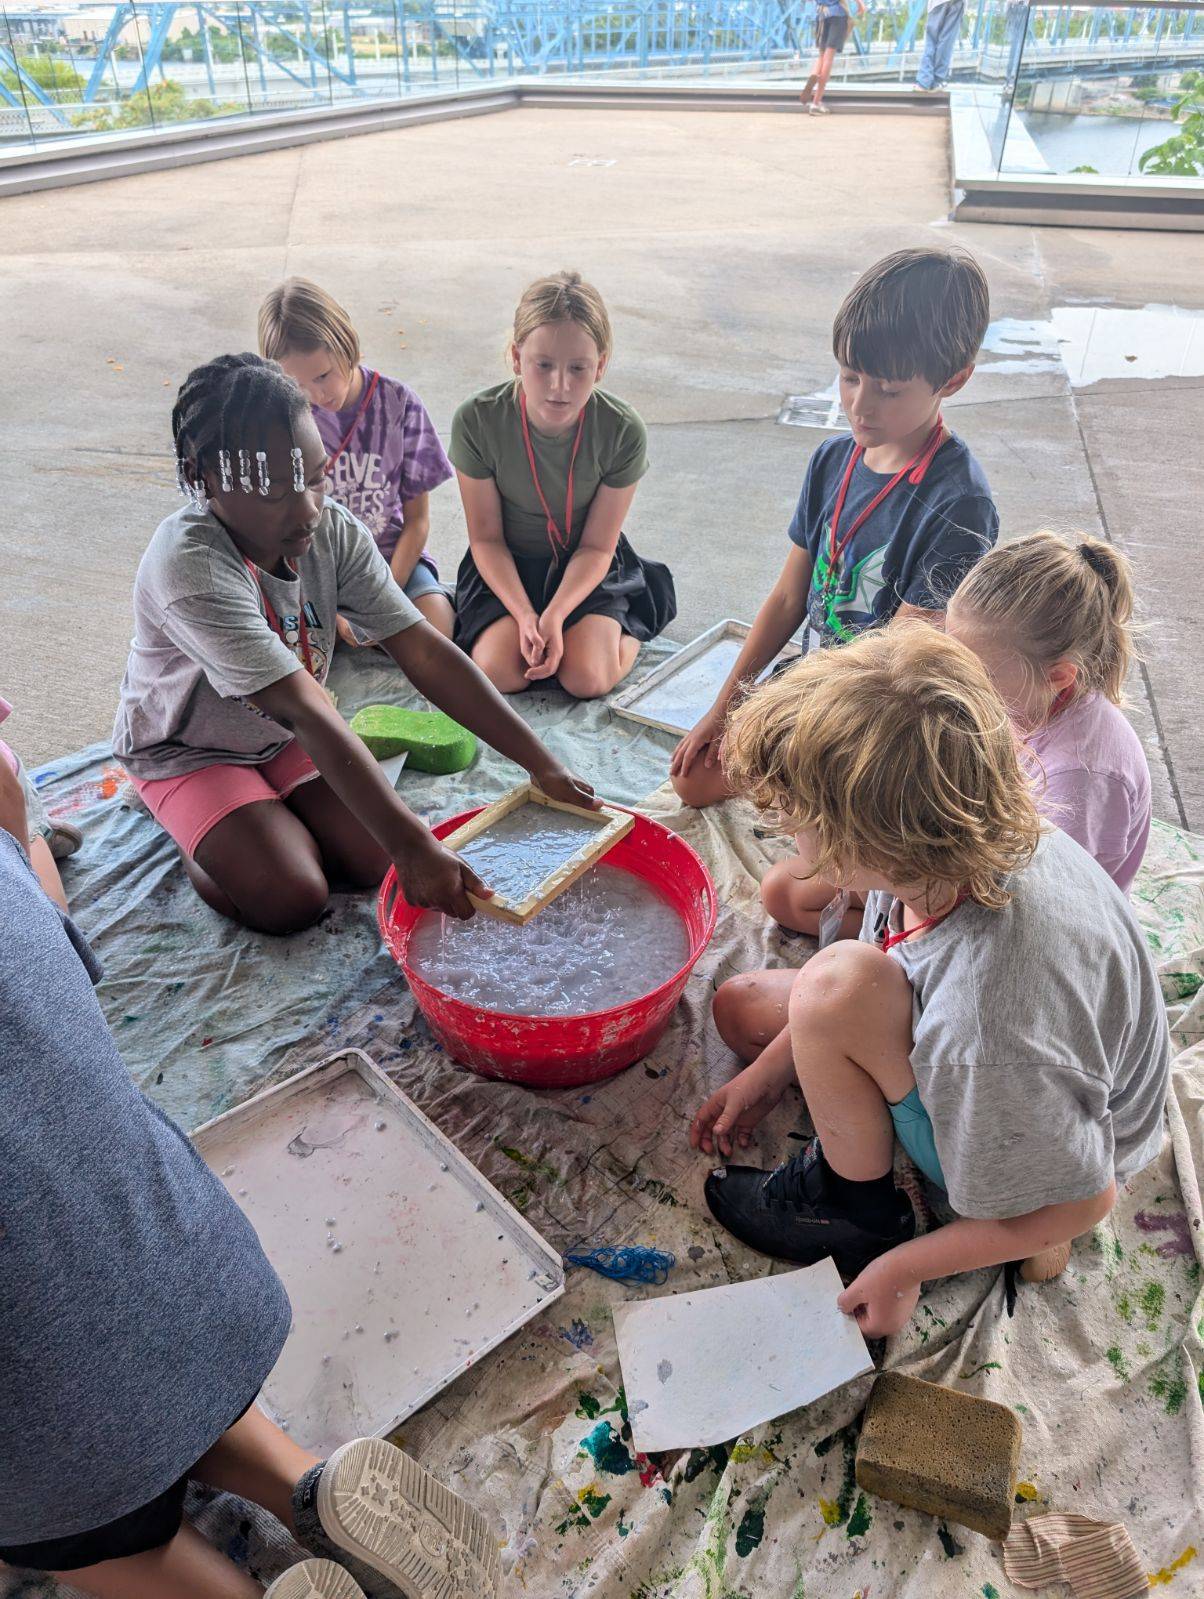
Taught by local artists and museum professionals, Hunter Art Camps are weeklong programs designed to immerse campers in hands-on art experiences tailored to their unique learning style. Campers will spend time every day in the museum galleries, art studios, and outdoors, while learning the methods, materials, and inspirations needed to foster the artist within. Projects include printmaking, weaving, embroidery, clay sculpture, mixed media, photographic processes, and more. Play time features water activities, field day games, Art Olympics, creative movement and puzzles. We also provide quiet spaces for reading and independent play as needed.
2025 Summer Camp is open to young artists ages 6-12 years old, and is split into two age groups. Each week of camp is unique, and campers may choose to return to build on inspiration and skills learned in the previous weeks. All art materials and snacks will be provided, and caregivers are asked to pack a NUT-FREE lunch and a water bottle for their child every day. A full list of what to bring will be sent by email 2 weeks prior to your scheduled week of camp. Register now at the links below.
Discounts are available for siblings enrolling in the same week. Thanks to generous funding from Unum and the Lillian L. Colby Foundation, we are able to offer need-based scholarships for students who attend Title 1 schools and families receiving SNAP benefits. Please email cbespalec@huntermuseum.org with any camp questions, including scholarships and waitlists.
Looking for Spring Break Art Camps? Click here!
Sunday Studios
Art lovers of all ages are invited to Sunday Studio on the 2nd Sunday of the month from 2-4pm for drop-in art making. Geared toward pre-K through middle school artists and their families, each Sunday Studio highlights artworks from the museum’s collection through hands-on art making led by local organizations and showcases youth artists through music and dance.
Regular admission applies; as always, members and youth 17 and under are free. Adults with a Chattanooga Public Library card also get in free when attending these programs with children.

Autism Spectrum Resources
With a focus on sound, light, and touch, the sensory-friendly map with visitor guidelines and social narrative will assist youth on the Autism Spectrum or with sensory processing disorders in preparing for their visit and navigating the museum.
Teen Events
Teen EventsTeen Art Show
Inspired by the special exhibition, the 2025 Teen Art Show featured local works on the theme “Nature, Conservation, and the Future of Our Land.” Representatives from ArtsBuild Chattanooga announced the award winners.
Check back here for more information on the next Teen Art Show!

Art After Dark
Join us at the Downtown Chattanooga Public Library on the second Saturday of every month from 6-8 PM. These teen-only events feature art-making led by Hunter Museum staff, snacks, and exclusive after-hours access to the library.
Junior Camp Counselor
This summer, share your love of art by volunteering as a junior counselor for the Hunter Museum! Junior counselors help support elementary-aged campers as they create, play, and explore during our weeklong summer art camps. This is a great opportunity to help young minds express their creativity, while learning community service hours.
Responsibilities & Duties:
- Assist camp instructors as needed.
- Help prep and facilitate daily art activities.
- Lead campers through the art galleries and sculpture garden.
- Help campers explore a wide variety of art mediums and tools.
- Maintain a safe environment by keeping the classroom clean and organized.
- Assist and lead outdoor activities.
Requirements:
- Must be 13-17 years old at the time of application.
- Comfortable working with children.
- Available to volunteer during one full week of camp. Teens have the option of exclusively working the morning or afternoon sessions of camp.
Take an Art Break
We invite you to press pause on the hustle and bustle of everyday life and Take an Art Break on our YouTube channel.
Explore the permanent collection

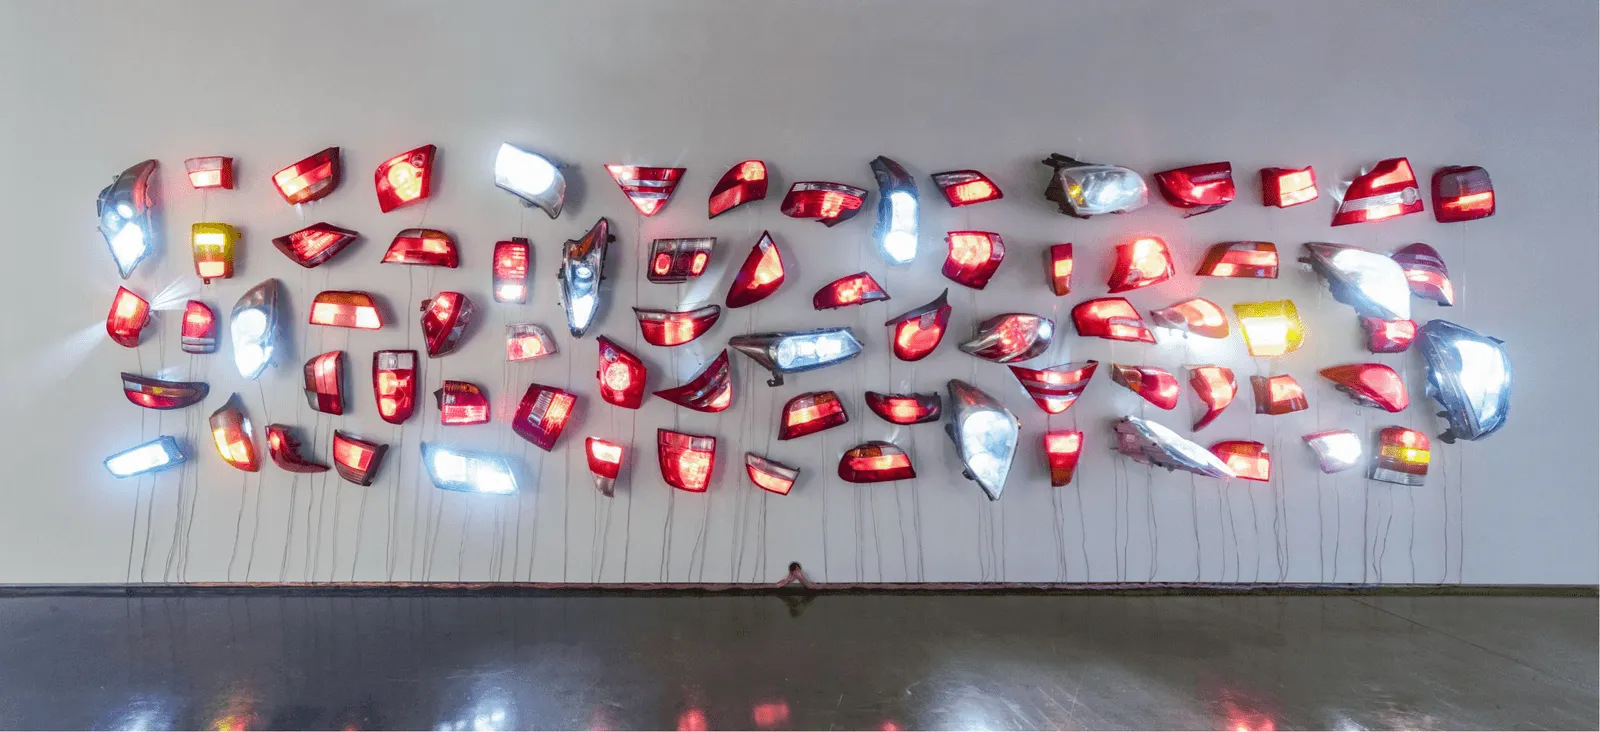


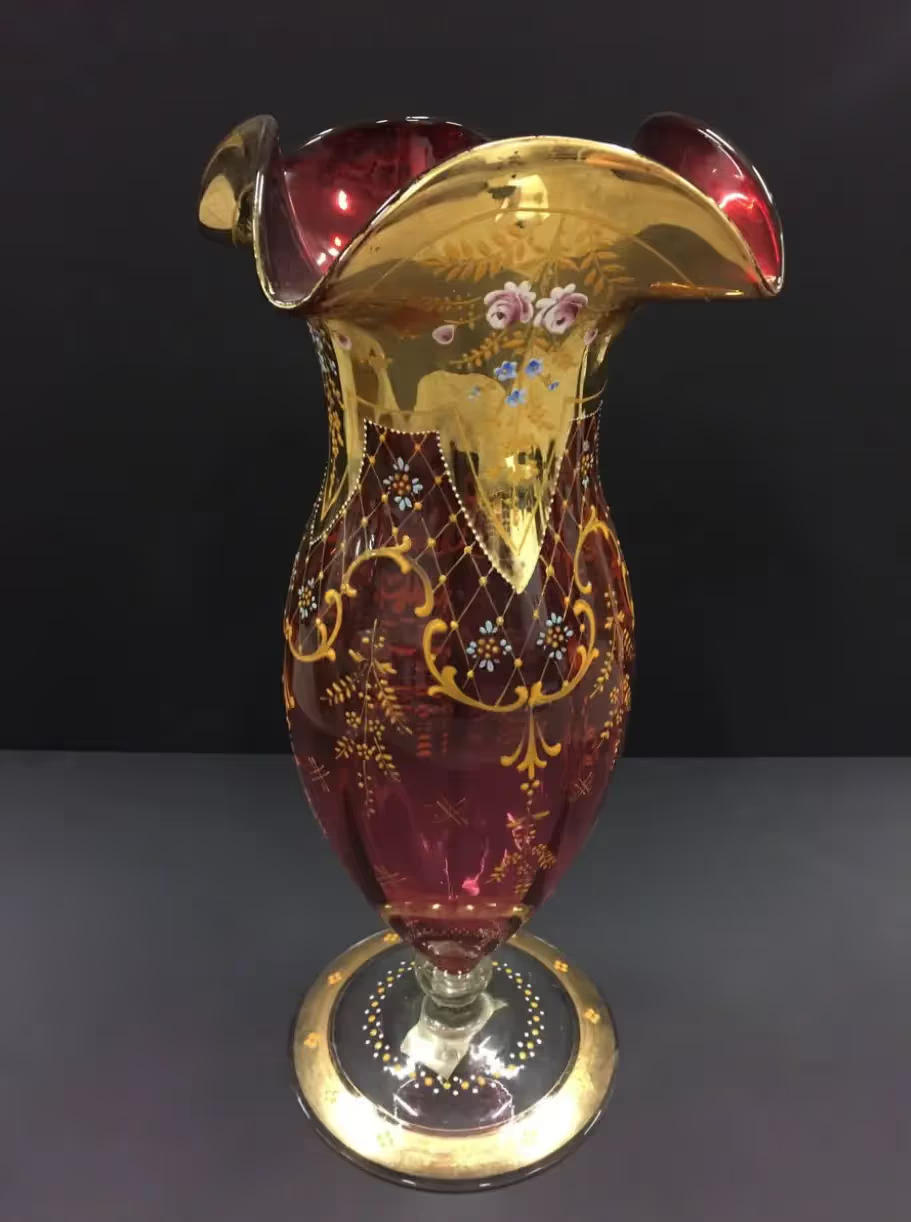


Travel across hundreds of years with history with 3000+ works of American art.


